![]()
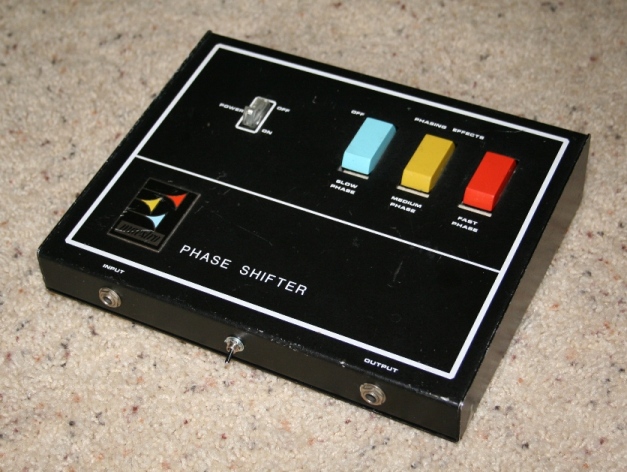
Technical Notes for the Maestro PS-1 Phase Shifter manufactured during the 1970's.
TRUE BYPASS SWITCHING
The Maestro PS-1 causes a noticeable reduction in high-end brilliance when the unit is in bypass mode (phasing off). This is due to the fact that the PS-1, like most other effects units of its time (and some modern effects as well), did not include True Bypass Switching. There are numerous articles on the web about True Bypass Switching and you can reference those.
Keeping in mind that your Maestro PS-1 Phase Shifter is a vintage piece of equipment, you need to think carefully before modifying it - adding a bypass switch to your PS-1 may reduce its value. Alternately, you can use an external Bypass Box and leave your PS-1 unmodified. A Bypass Box will provide True Bypass Switching and your PS-1 remains in its stock condition. One last note - don't attempt to modify your Maestro Phase Shifter if you don't have a thorough understanding of electronics.
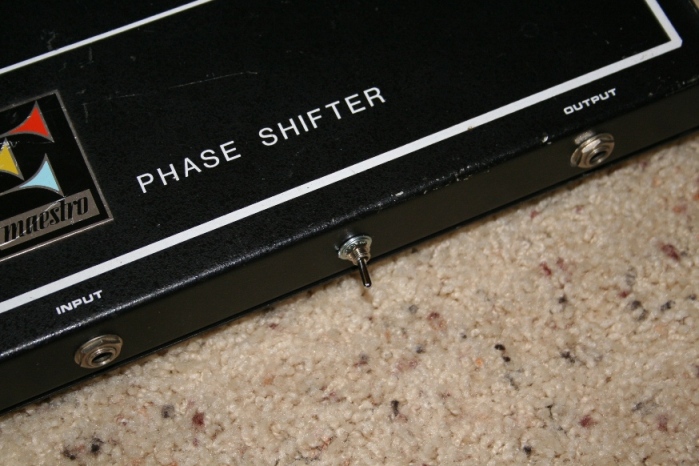
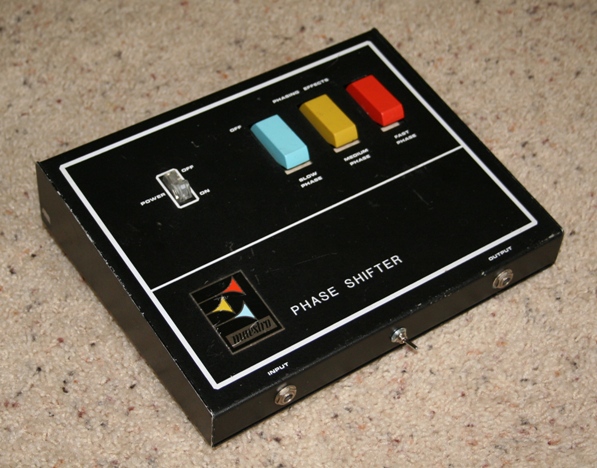
I chose to modify my PS-1A. I added a miniature DPDT toggle switch on the front of the unit - the switch is very small and doesn't detract from the visual aspect of the unit. See the photo and diagram below. I installed the switch so that flipping it to the right engages the phaser and flipping the switch to the left takes the phase shifter completely out of the signal path, routing the input directly to the output.
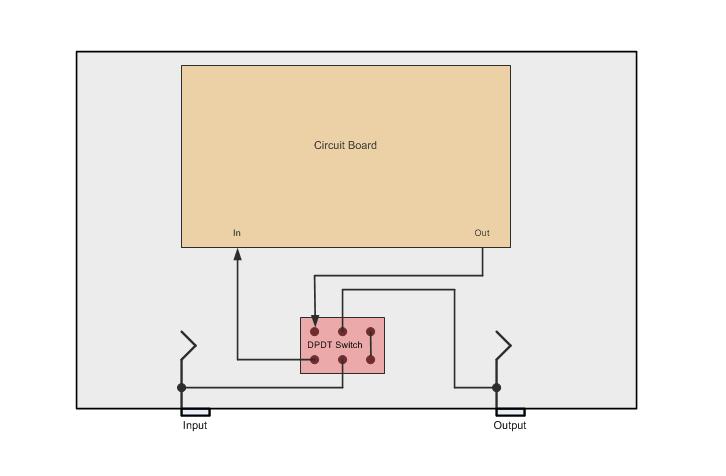
The true bypass circuit diagram above does not include any provision for eliminating pops when the unit is switched in and out of the signal path. If this is important to you, you can refer to the links listed above - there are other true bypass switching schemes shown on those websites. It is also possible to find articles about silent FET switching circuits on the web. FET switching eliminates pops caused by mechanical switching and provides signal buffering as well.
INTERNAL ADJUSTMENTS
The Maestro PS-1 Phase Shifter has three internal screwdriver type trim pots (potentiometers) - FET Bias, Oscillator Amplitude, and Output DC Offset. These trimmers were preset at the factory and should not need further adjustment. However, it has become fashionable in recent years to open up Maestro Phase Shifters and turn those pots until the PS-1 makes weird spaceship noises. When I bought my used Maestro Phase Shifter I wasn't interested in making weird spaceship noises with it but I found that my unit had been "adjusted" by its previous owner so I had to re-adjust the trim pots to get the unit back to factory spec and its original sound.
I found that centering the pots is a good place to start. Also, there is an alignment procedure included on the schematic. Don't attempt to adjust these trim pots if you don't know what you're doing because you can really screw up your phase shifter. Someone had totally trashed the sound of my PS-1 by mis-adjusting its trim pots but I was finally able to get the unit back to its original sound - however, it did take quite a bit of time and patience. The trimmers are VERY sensitive - a very small adjustment can have a huge impact on the sound!
If you decide to adjust the trim pots keep in mind that the Maestro PS-1 Phase Shifter is AC powered so there are potentially lethal voltages running around inside it! In addition, the trim pots were very fragile when the unit was new and their fragility has only increased with age.
Maestro PS-1 Phase Shifter Schematic
![]()
Back to the Maestro PS-1 Phase Shifter Webpage
Wingspread Records Homepage
This webpage is not affiliated in any way with Maestro.
The Technical Notes contained in this webpage are provided for reference only.
The author makes no claims of accuracy and assumes no responsibility whatsoever for the contents of this webpage.
Copyright © 2026 Wingspread Recording Ltd. Co.